Diagrams and Information
Wire color code and installation techniques
Below you will find some color code cards that match our wire harnesses and information going over functions, the use of our harnesses and the tuning how-to's, needed to properly install your equipment and get the best out of your investment.
The speakers we select to use for the audio signal with our T-harnesses and the units/amplifiers we pair with them, present the frequencies and frequency manipulation to get the most out of your factory integration project.
There is a difference, so what do you need?
Bass frequency correction or Bass frequency restoration?
There is a lot of "information" by PAID advertisers in the 12volt industry that may lead you to believe that one product is better than the other, based on brand names and not on product specifications or real world results. We like to provide facts!
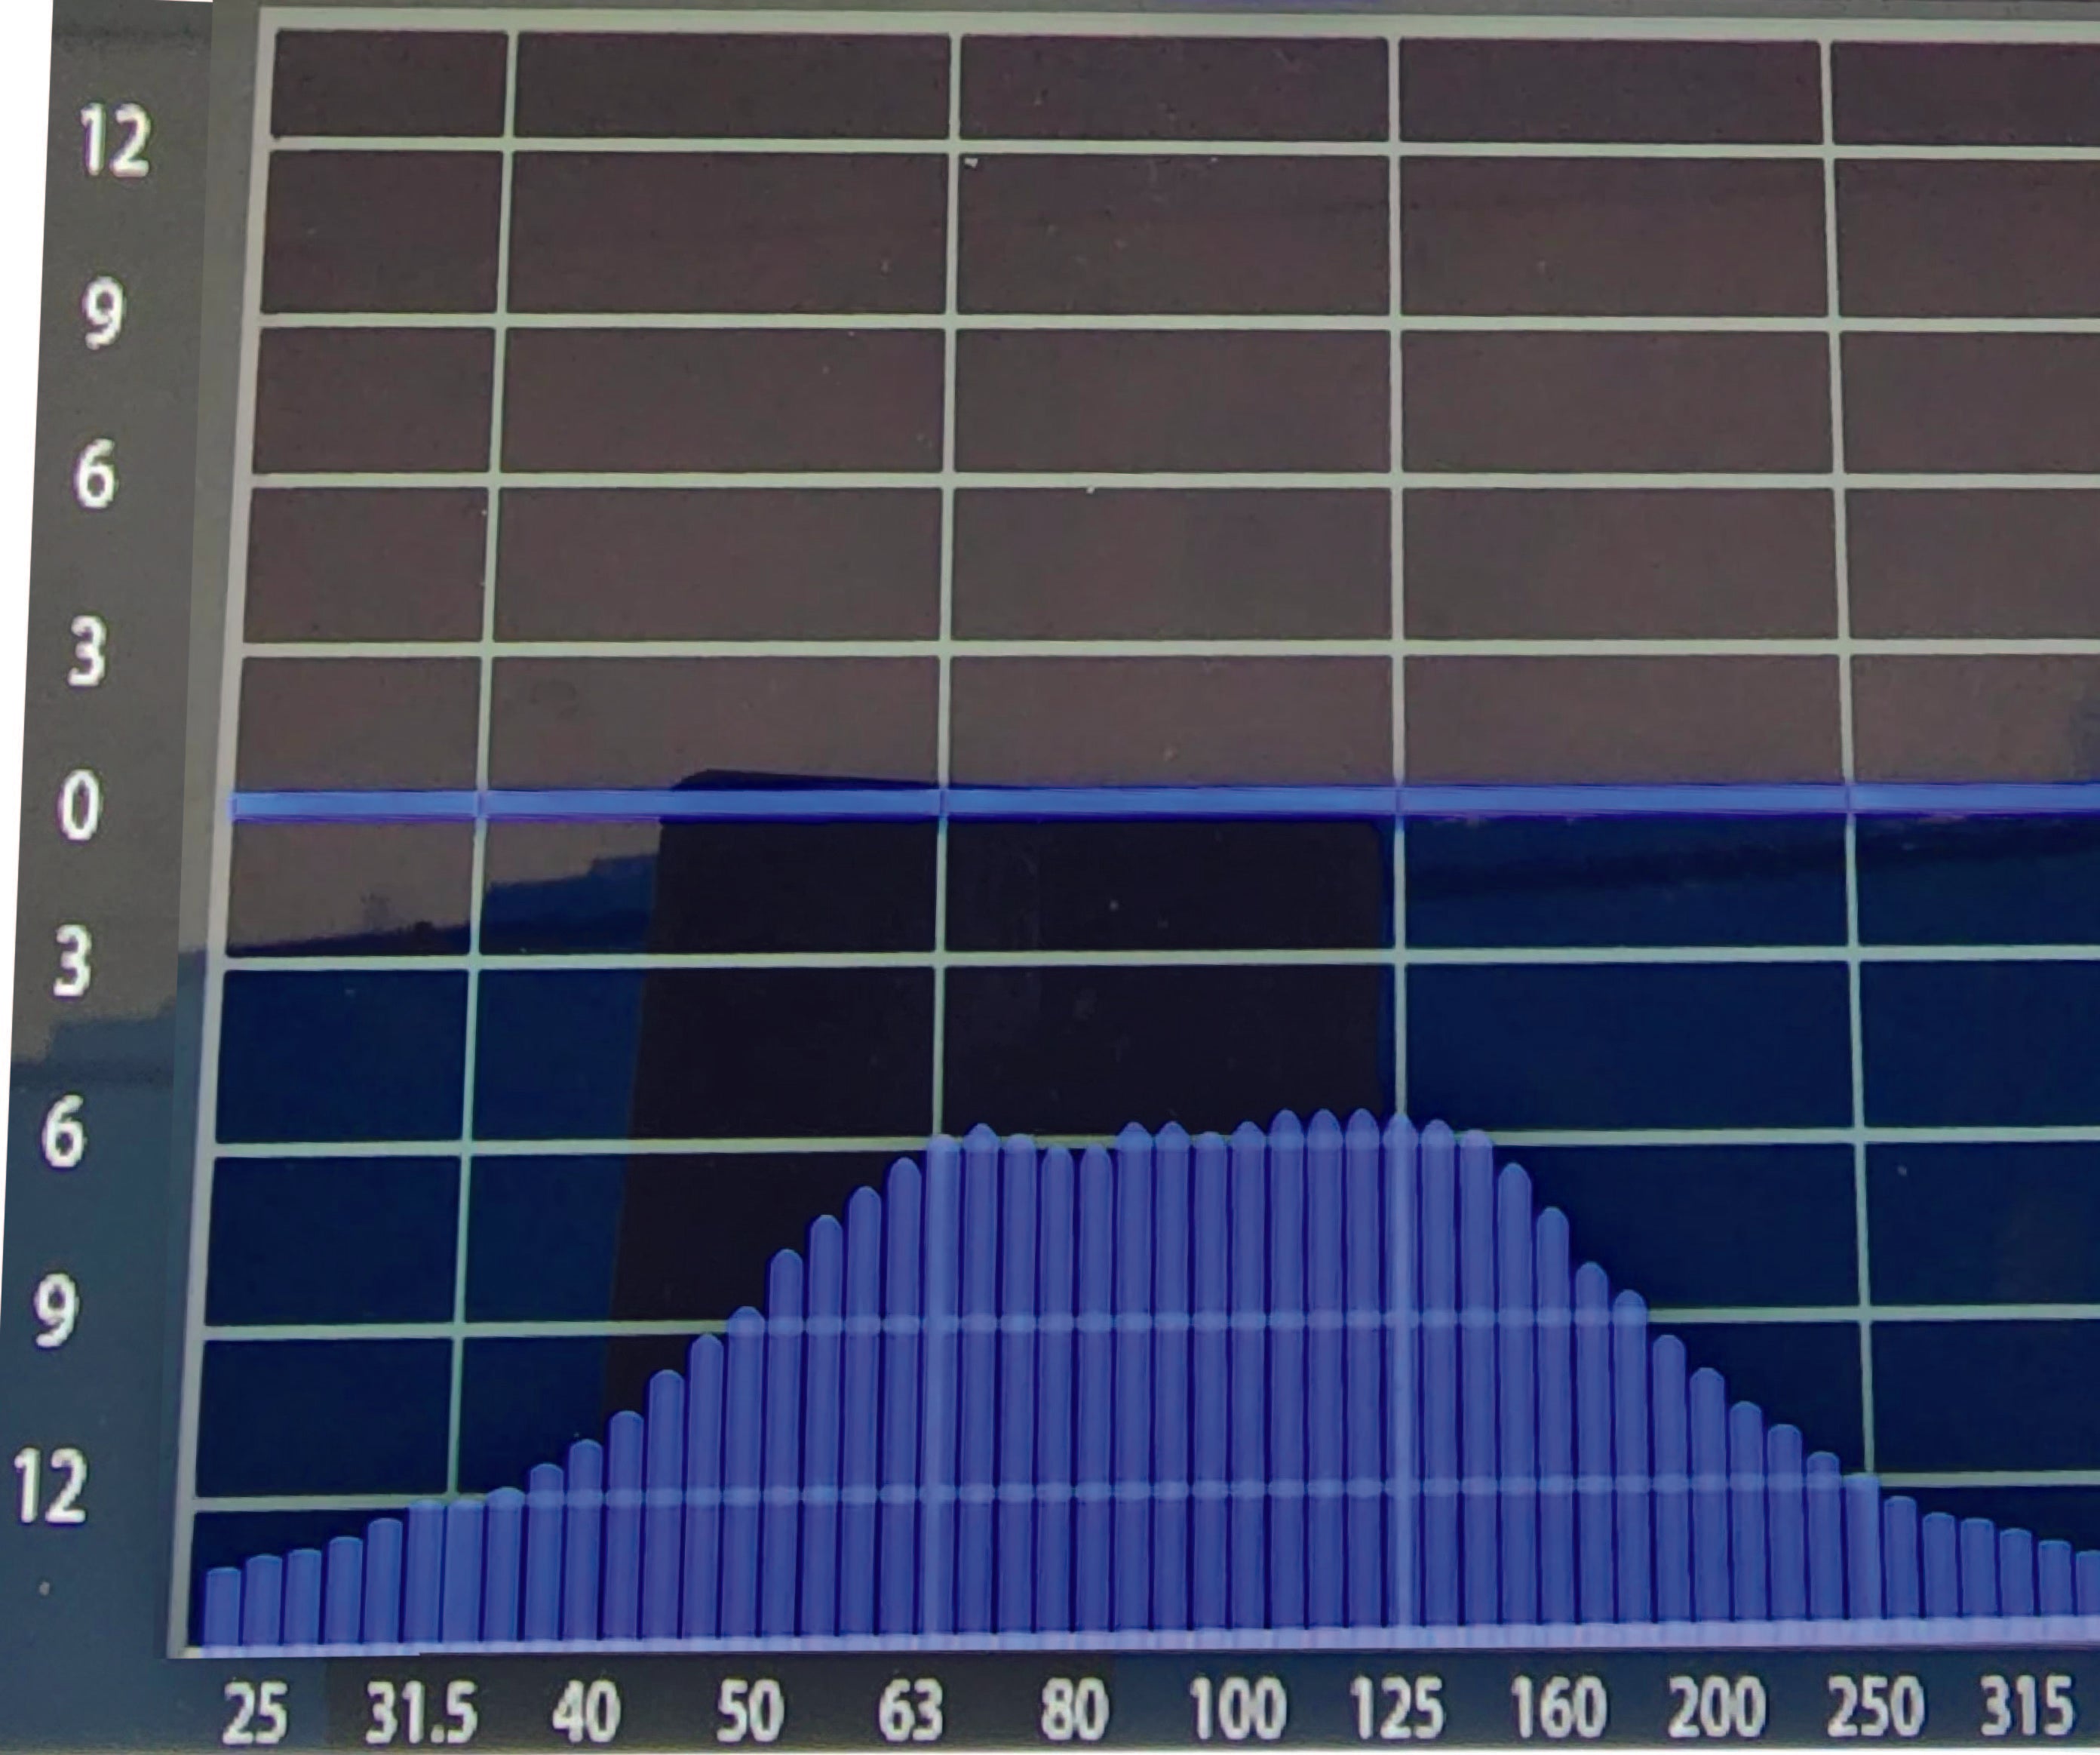
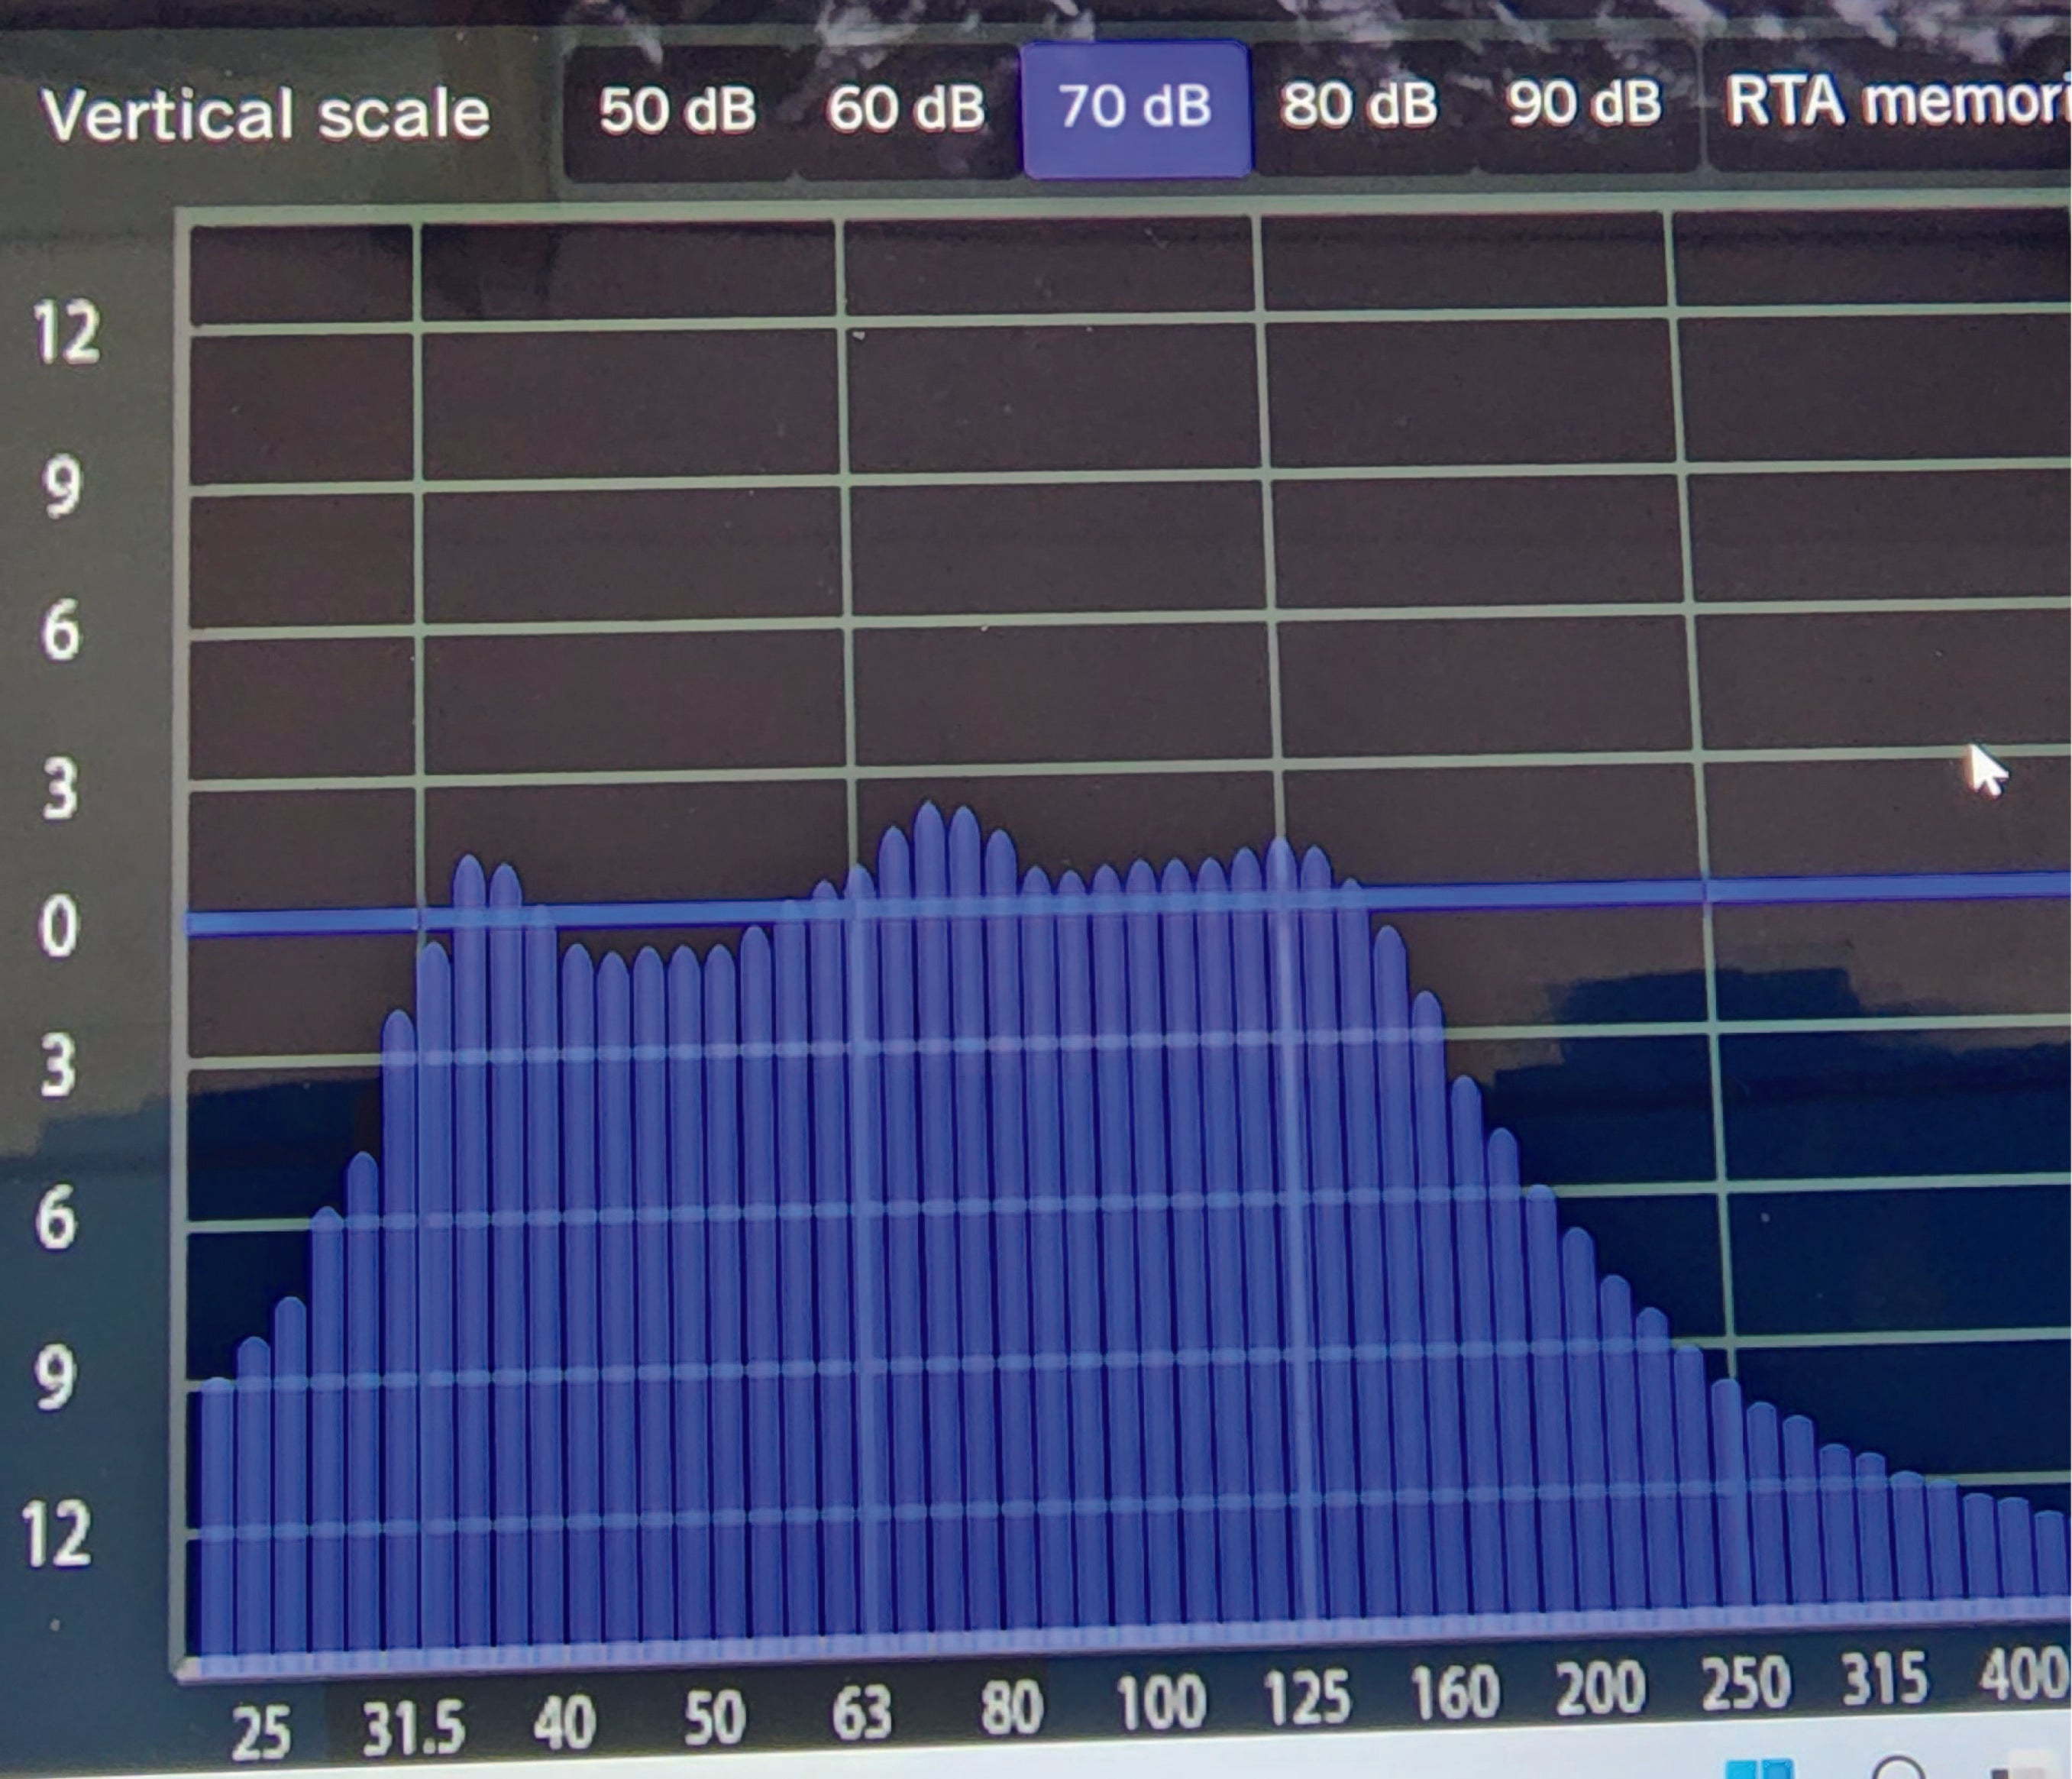
1. Factory audio from a Bose amplifier
The graph shows the audio signal coming out of the factory Bose amplifier into an RTA, to show what the LOC (in this case a LinkDQ) is receiving. This graph is displaying an output that shows bass roll-off starting to take affect at 63Hz, with a dip of -6 DB in conjunction with high pass filter at 130hz.
A loss of -3 Db cuts the signal strength 2:1. This means the amplifier will not be as efficient and you will need to maximize the gain output to overcome the weak signal. This can introduce noise into the signal at the amplifier.
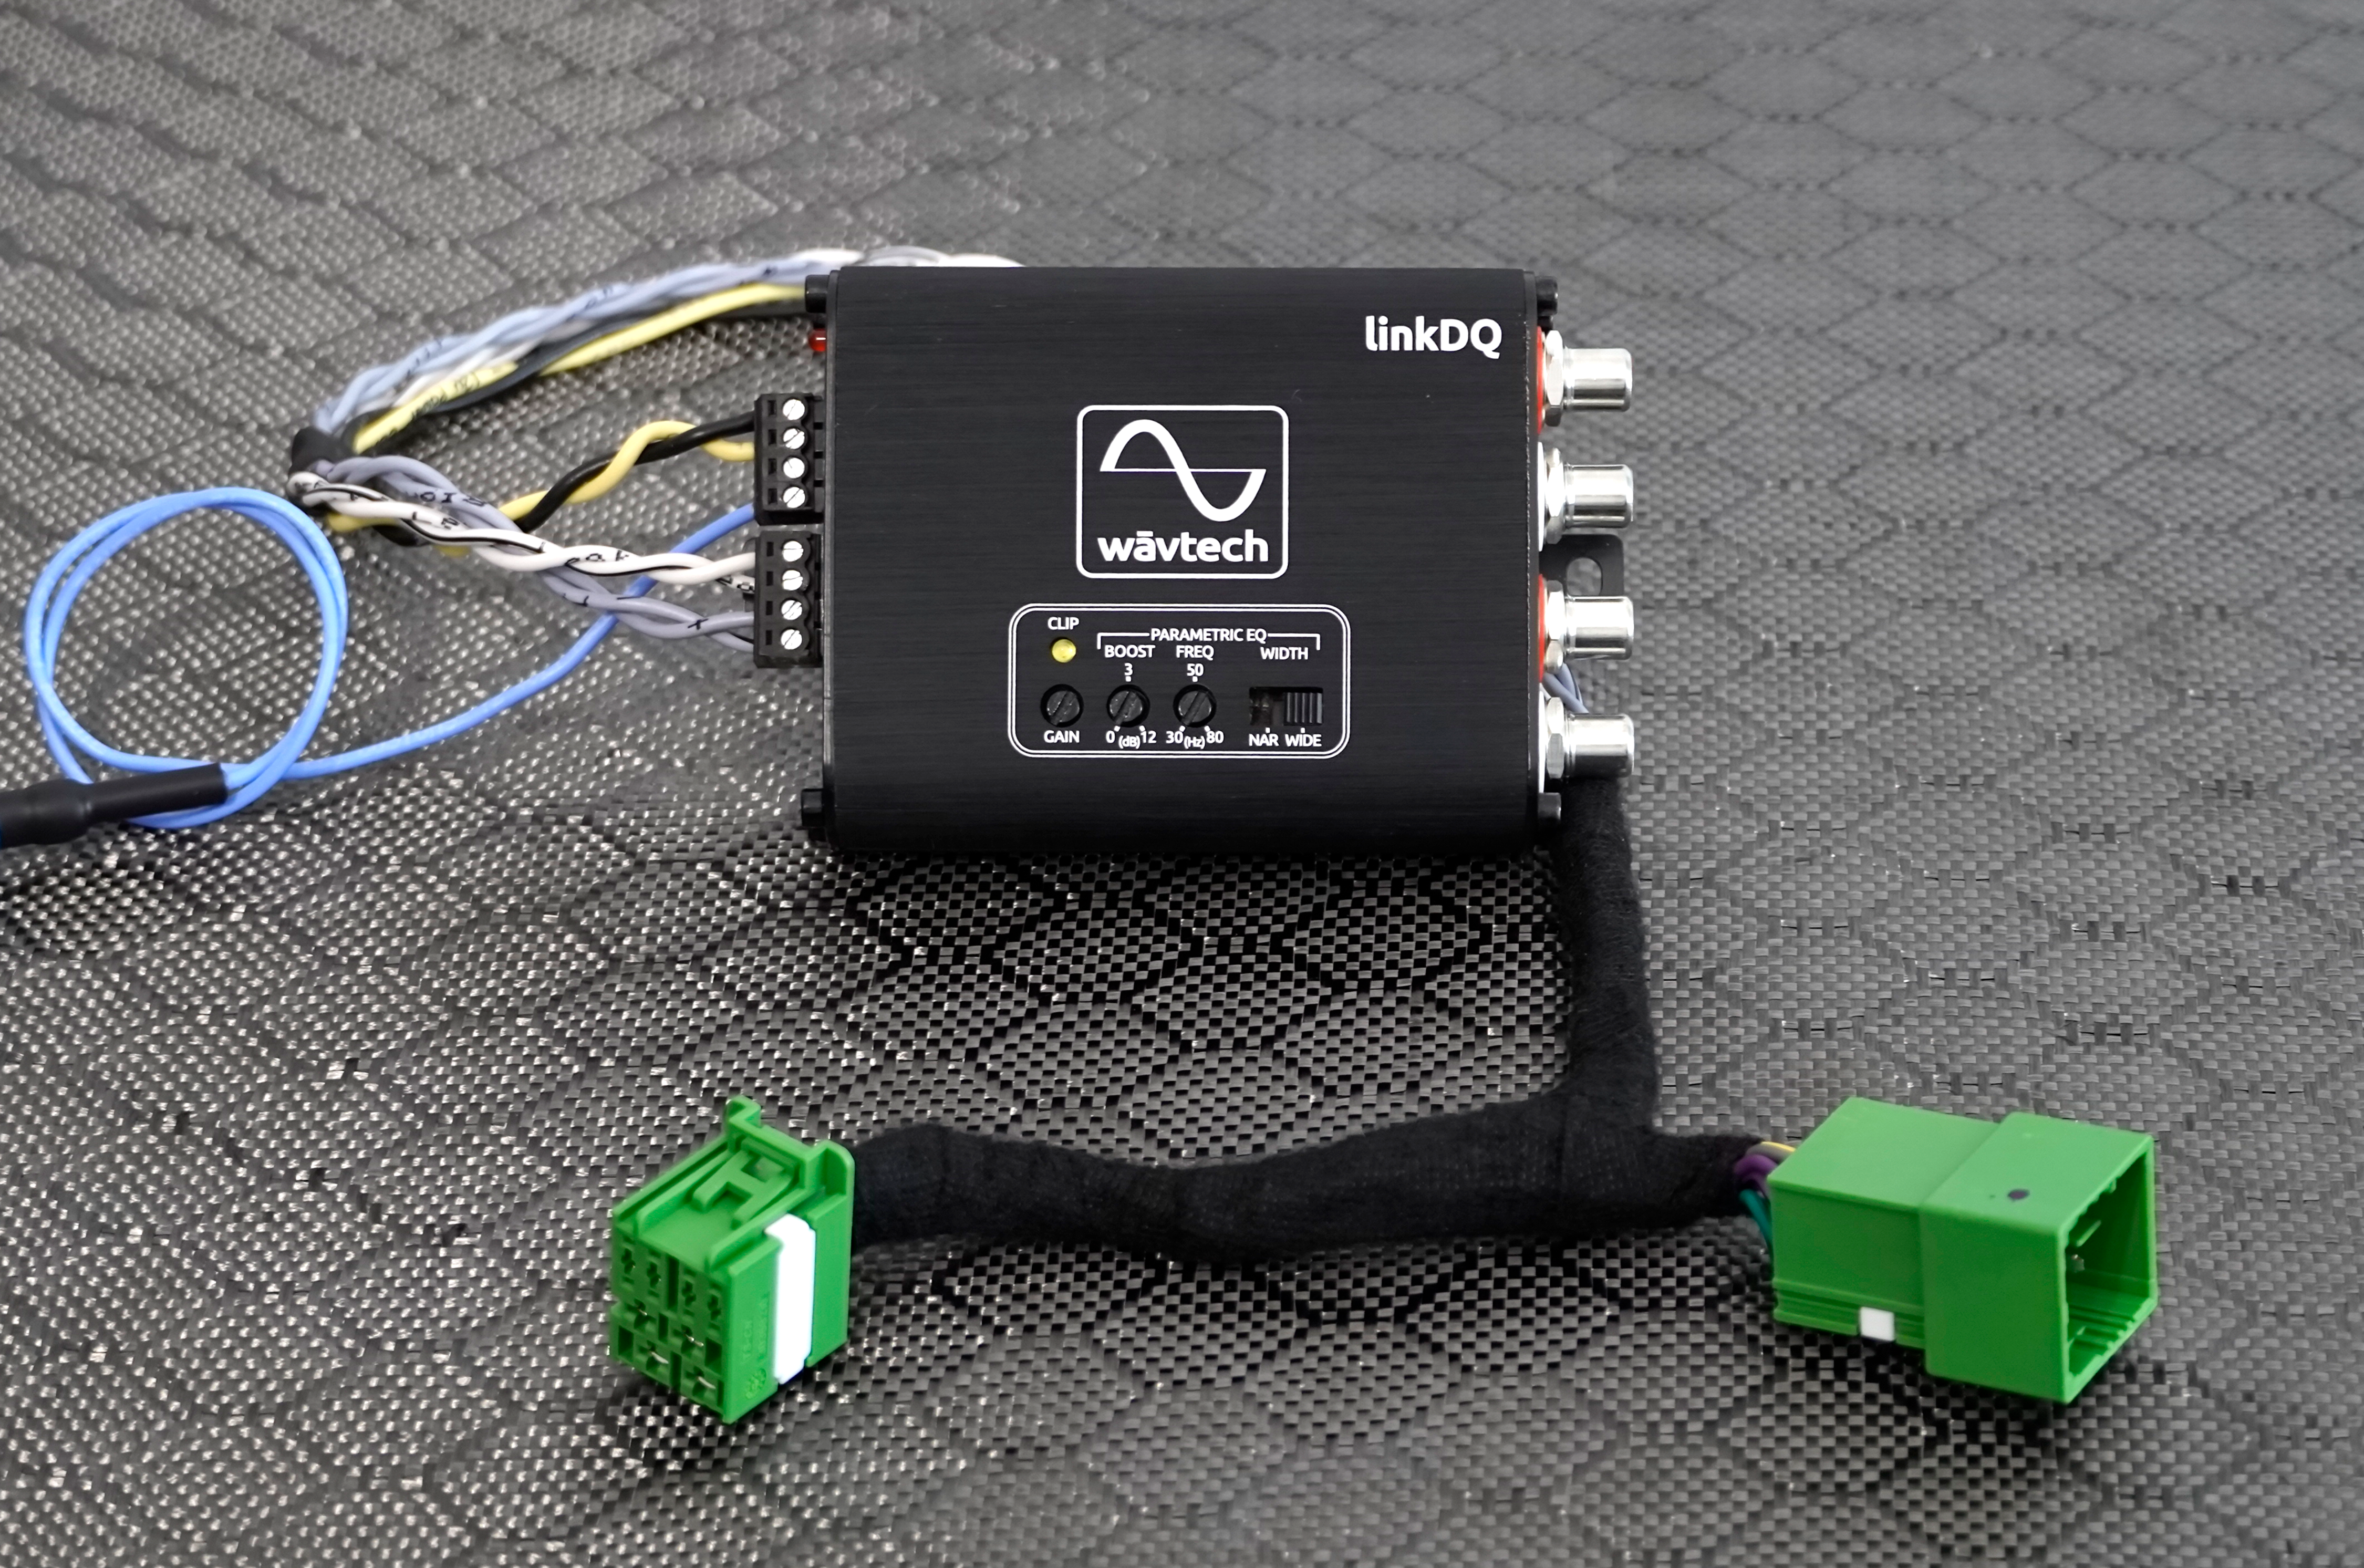
2. LinkDQ benefits and when to use
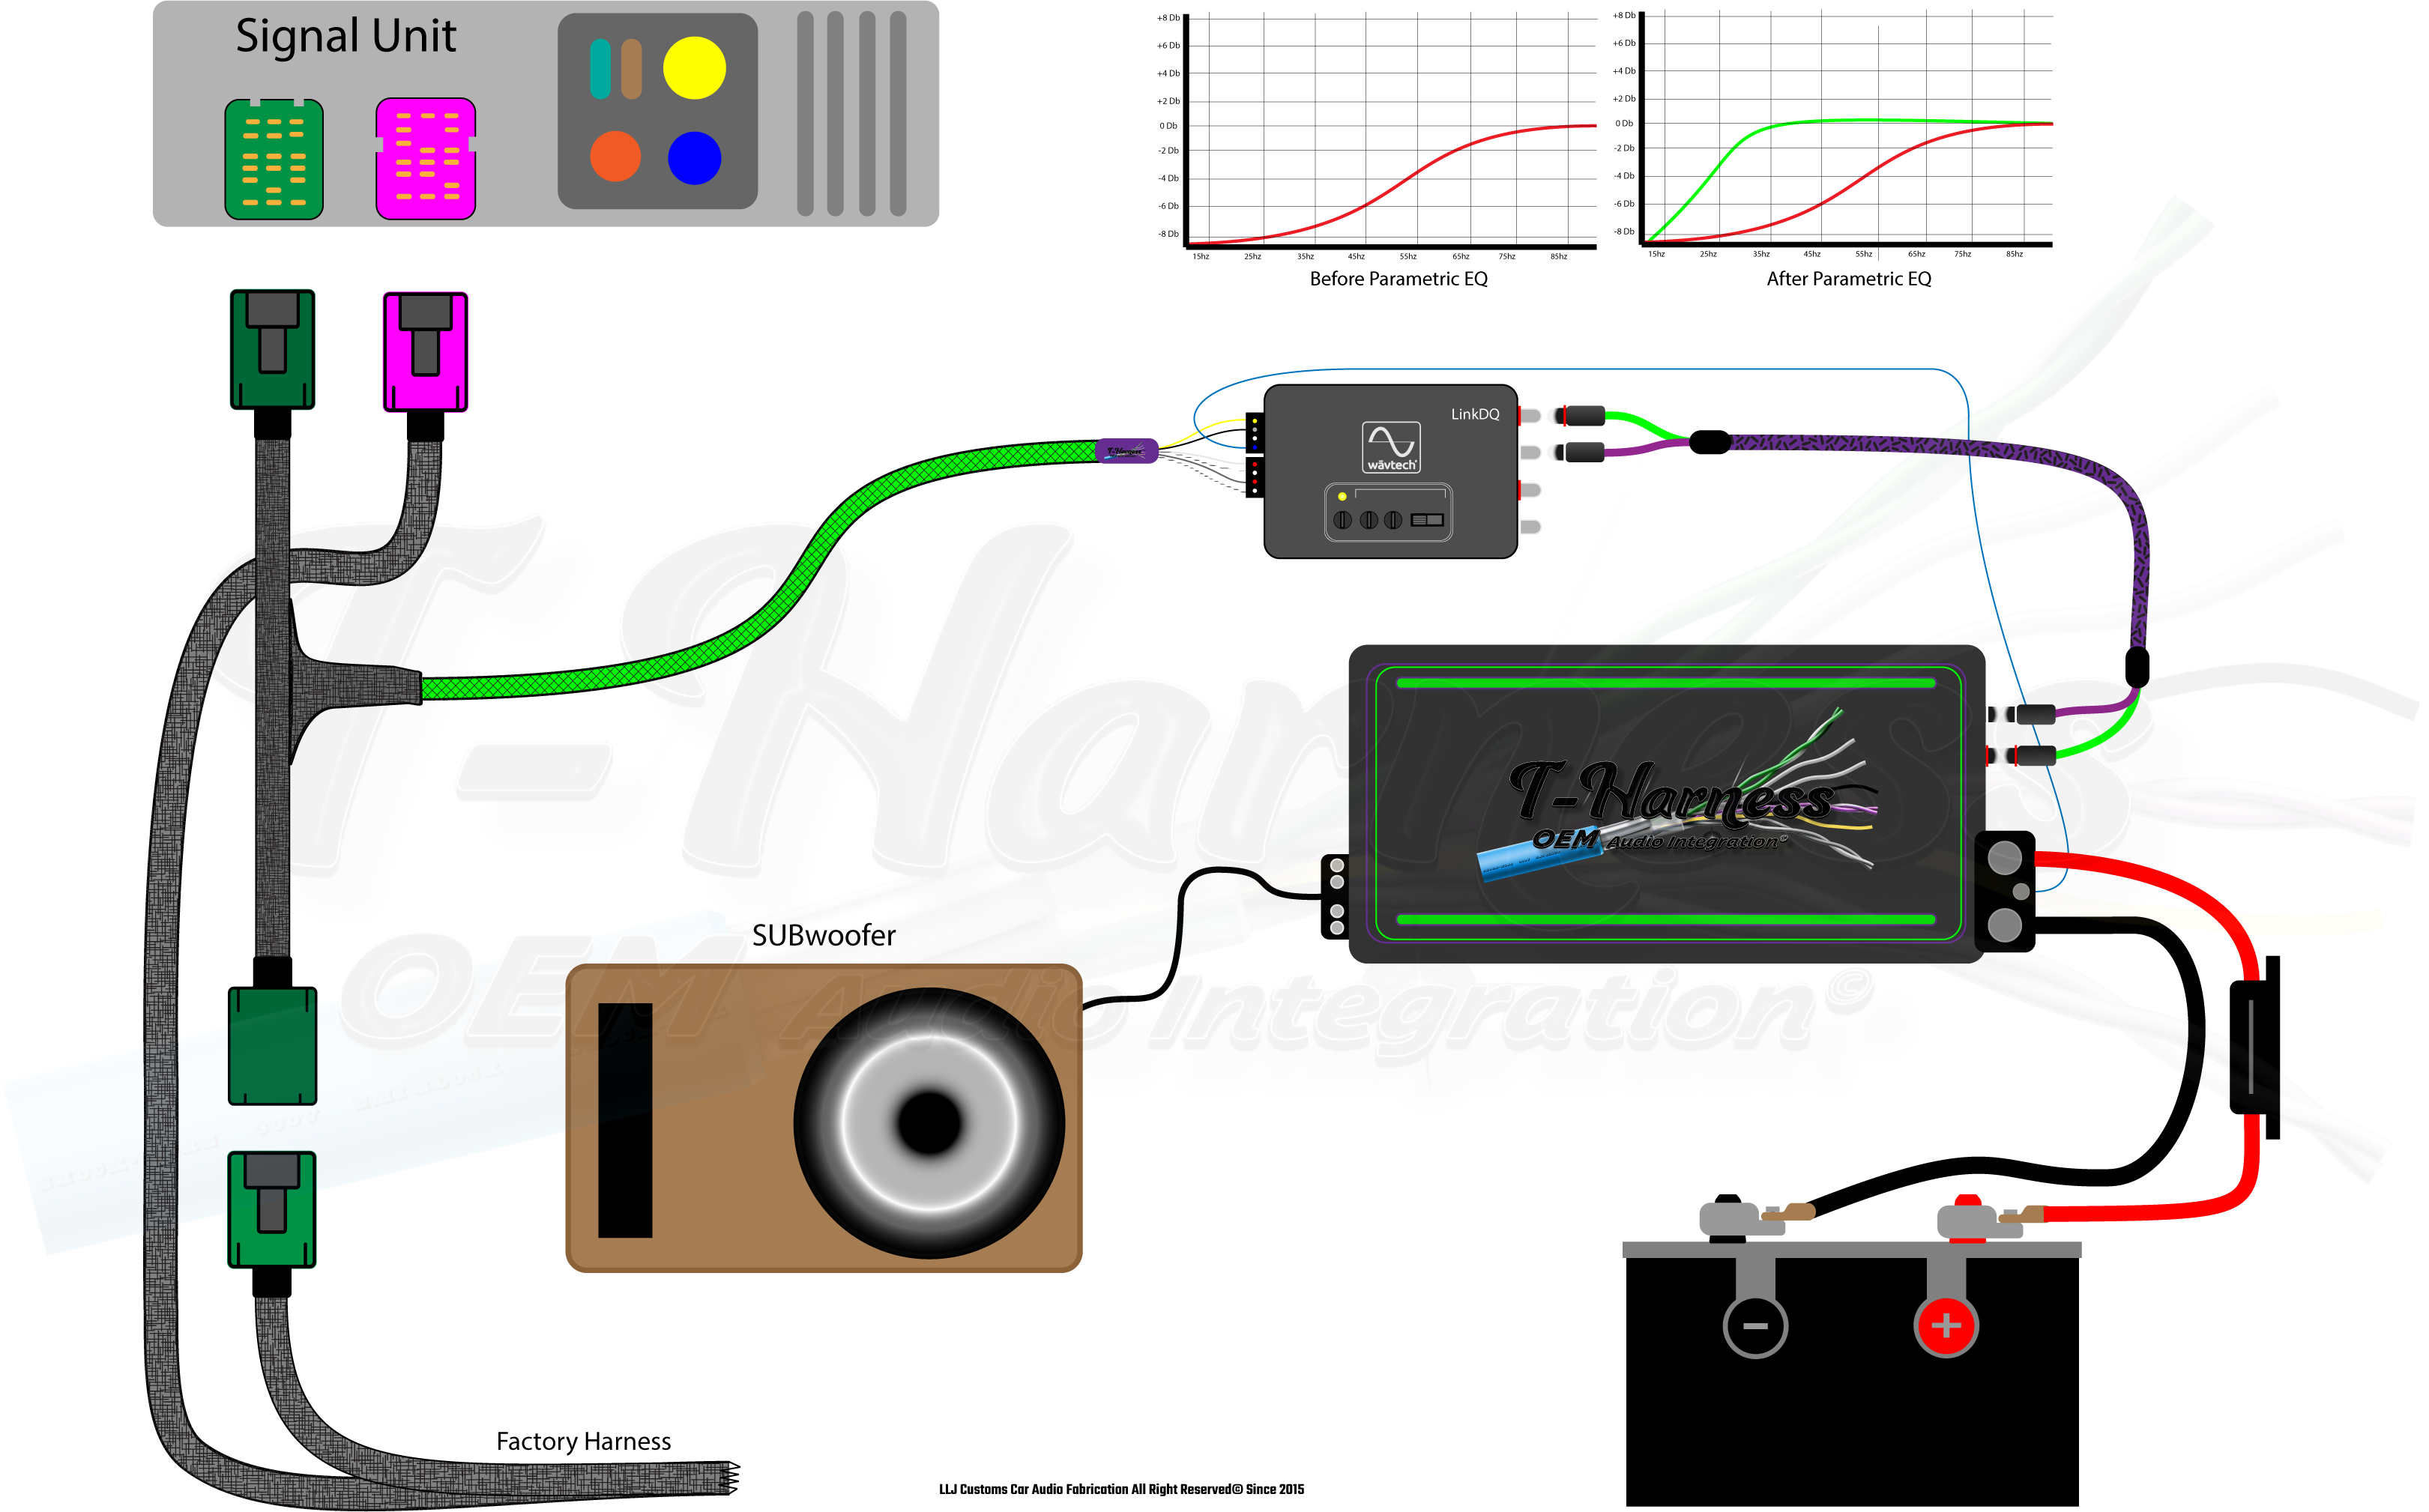
The LinkDQ does NOT restore frequency, it gives you the tuning ability to target existing frequencies and re-introduce the signal strength in the slope (correcting the loss of -6Db).
This increases the efficiency of your amplifier and reduces chance of noise from entering the amplification process. In the next picture you will see how we use the:
- Boost
- FreQ (frequency)
- Width
To correct the Bass Roll-Off and flatten out the signal slope for ideal performance conditions. This method is the solution for 95% of installations.
3. The power of tuning
Step A. Understanding what you need is a matter of looking at your subwoofers needs and your sub enclosures tuning (regardless of sealed or ported) requirements. Each enclosure has its tuned frequency for best performance.
Step B. Select the said frequency (we used 78hz for the example above) then select narrow or wide. This is the number of frequencies to the left and right of the target FreQ selected.
Step C. Affected range NAR= +2 | Wide= +5 or (76-78-80) or (73-78-83). Now you can use the boost to repair the slope and repair the deficiency in the audio signal strength. A Db boost of +6-8 will handle your problem.
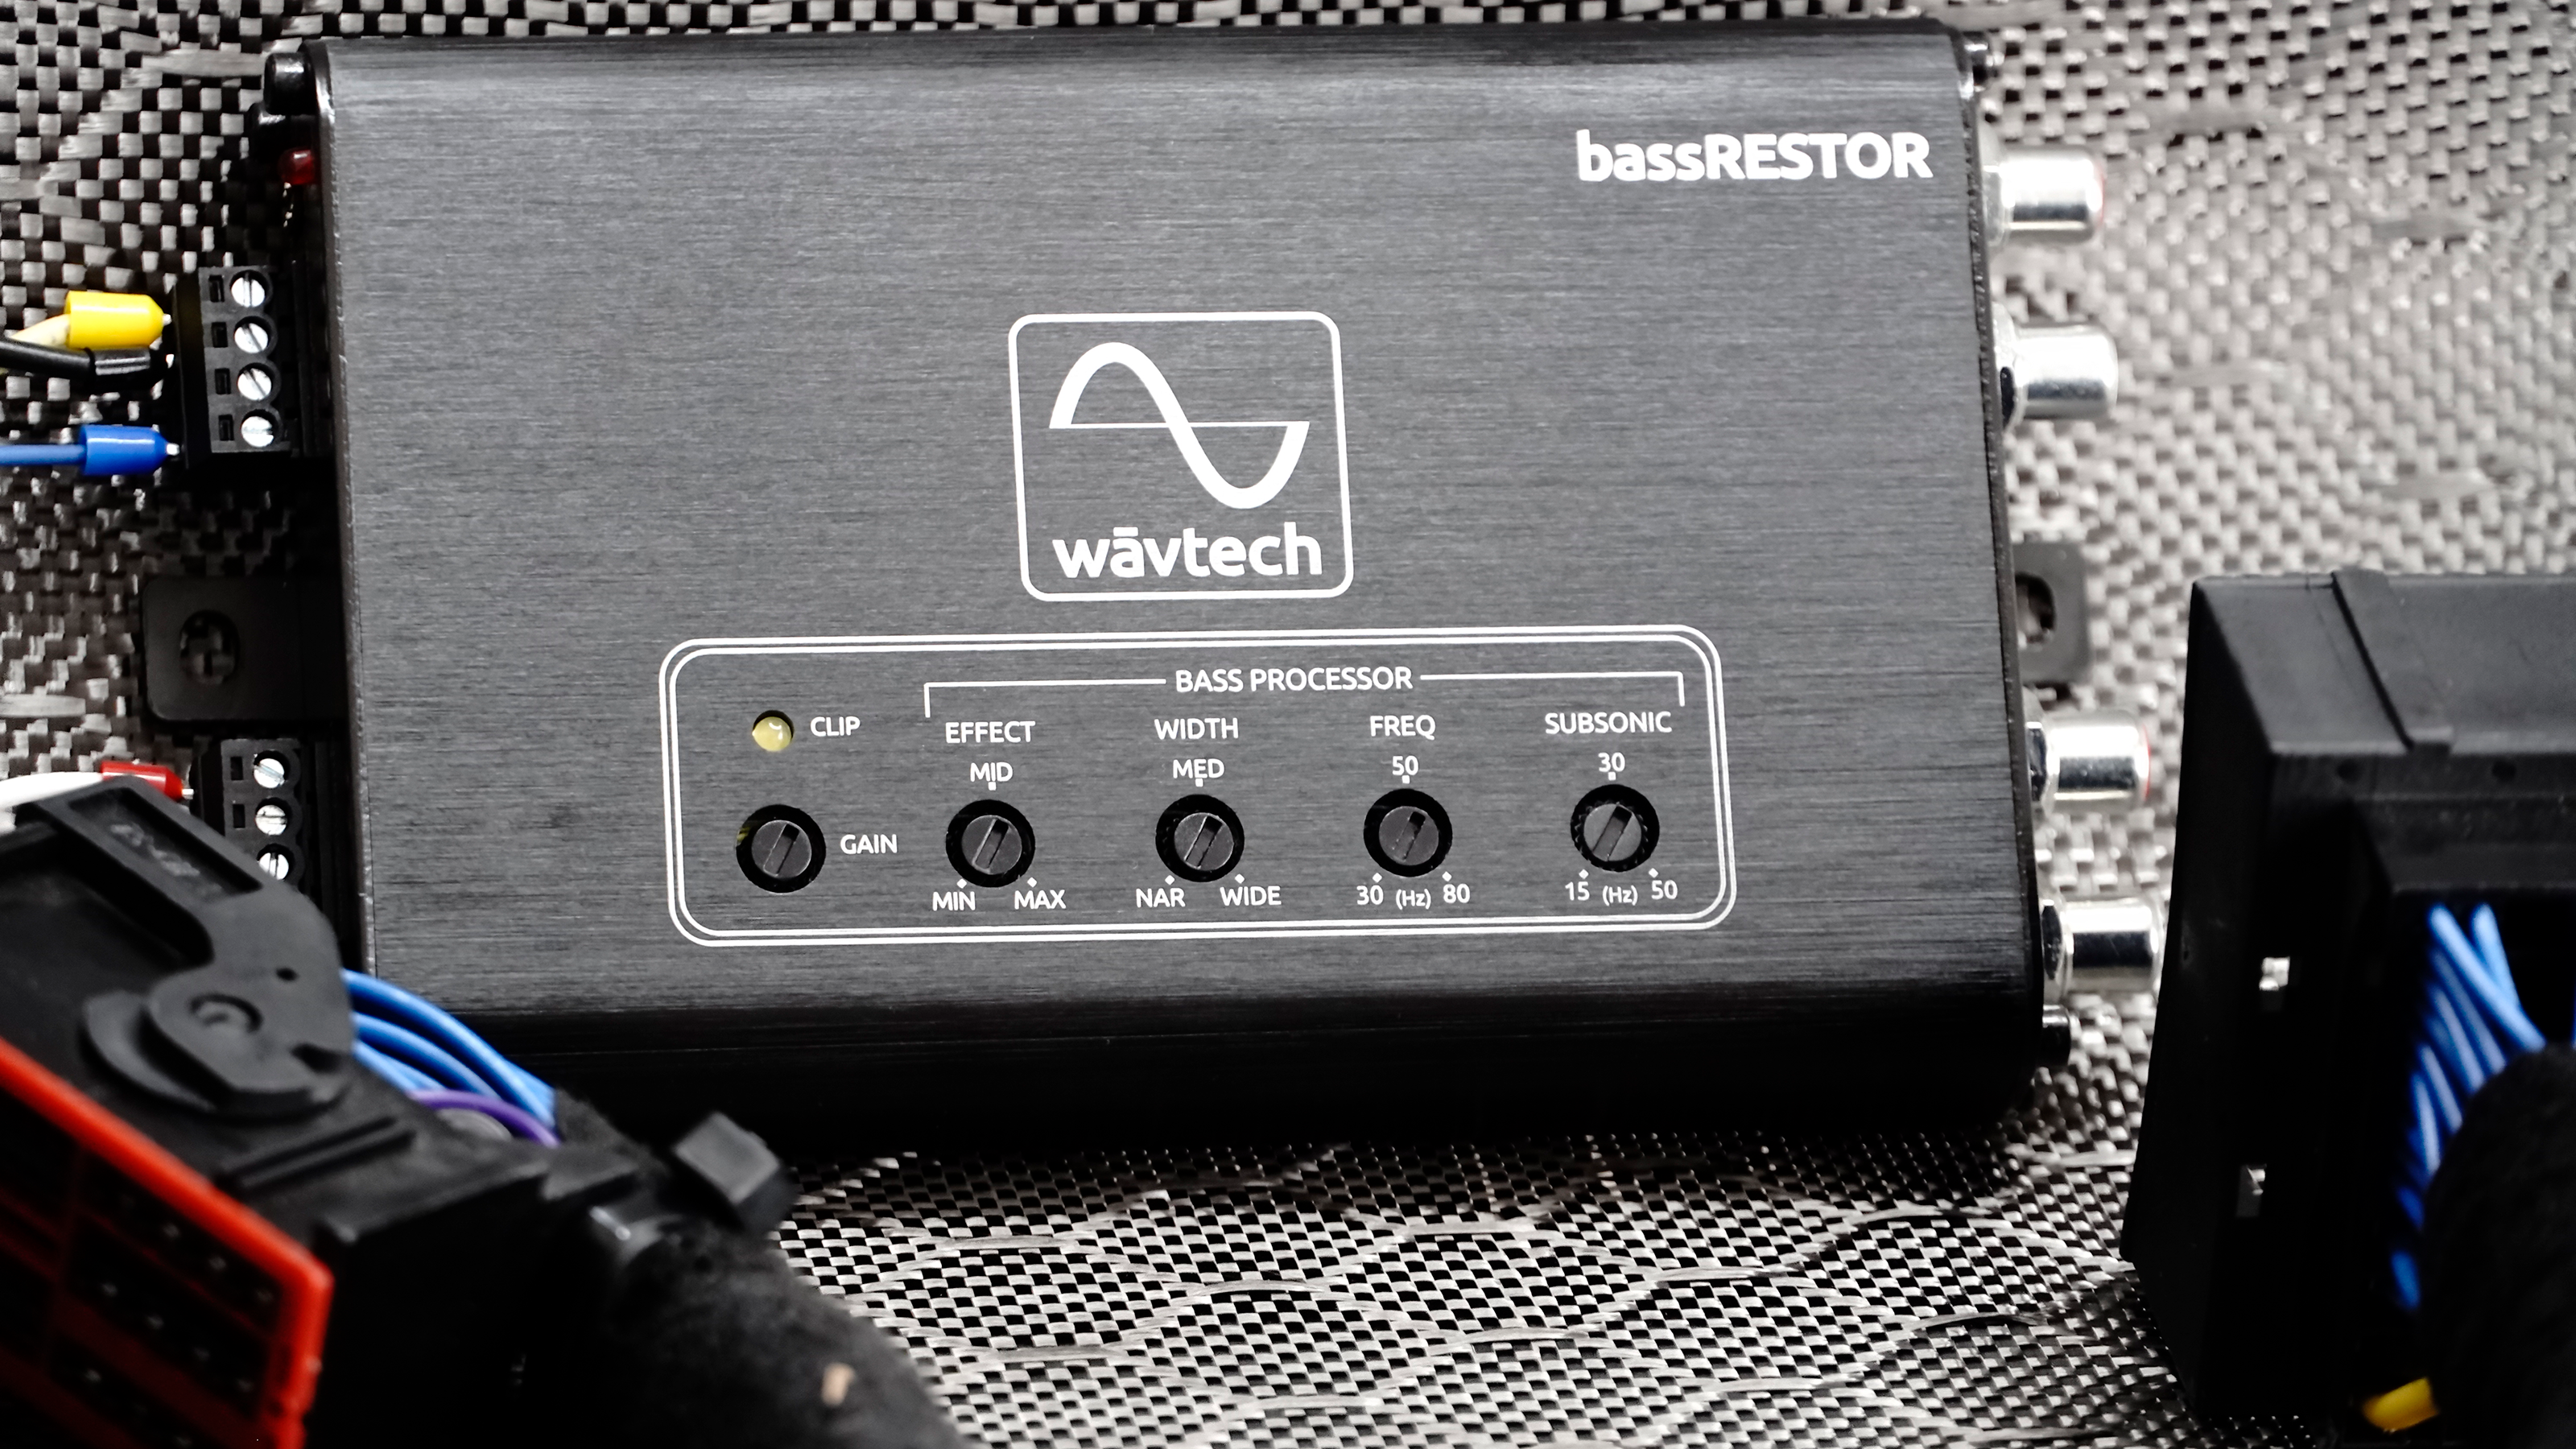
4. Active bass Restoration + Boost
True audio restoration is a complex balance of dynamic processing involving multiple stages, each of which can influence the overall quality of sound. The goal is to achieve faithful and accurate reproduction, allowing listeners to experience audio content as intended by the creators. Think of a DJ that is mixing the audio at any given point to mix and match tones, (in this case bass frequencies that exist but are "dimmer" than the surrounding audio) a sample is taken in real time processed then corrected and enhanced.
The result is called (EFFECT). Depending on the song, the effect may need to be brighter or dimmer and that is where the unique multi function knob comes in. Along with the boost ability of the BassRESTOR, this lets you change how the effect restores the audio playing in real time and lets you the boost the repaired bass to improve the output signal strength used by the mono amplifier.
1000% Better then AccuBASS
AccuBASS is a selling point for many who do not actually understand IT. Accubass is dynamic and has a boost limitation. It can also turns off and fail to activate if specific parameters are not met, like lowering the volume. Facts they never tell you about.
With the LinkDQ and BassRESTOR you don't have those limitations and have a better & consistent control over your bass frequency tuning.
